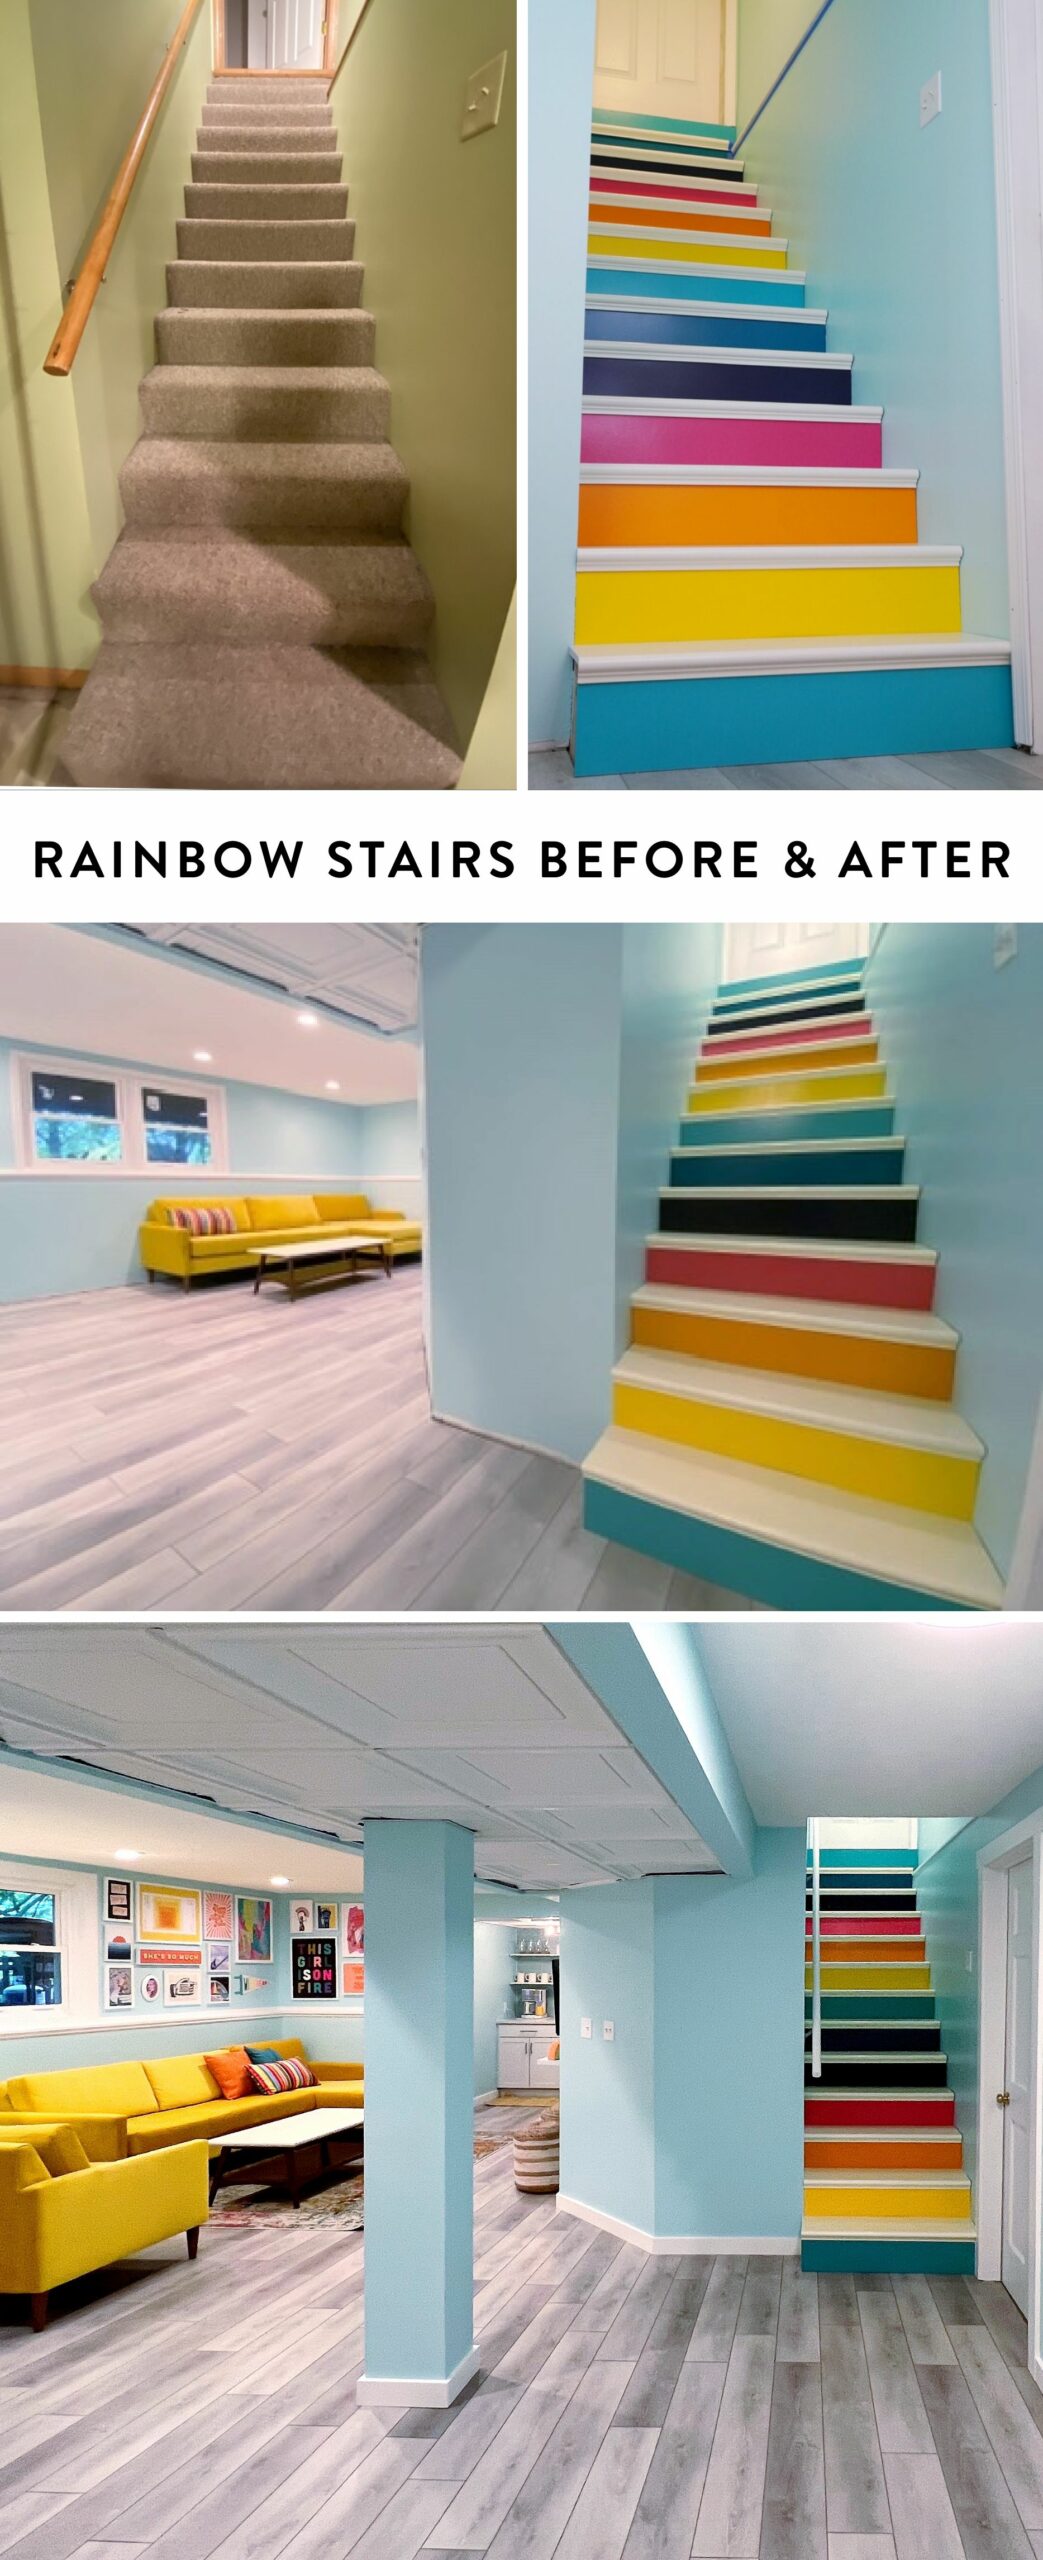
The Making of the Rainbow Stairs

I always wanted to be "the kind of woman who has rainbow stairs in her house." Then I realized, the difference between me and "that kind of woman" is that she decided to do it and I hadn't yet.

So I decided to become the kind of woman with rainbow stairs.

Then, I realized I also had to become the kind of woman who figured out how to rip out carpet, retread stairs, and paint them and seal them so the rainbow kept its sheen.

Or, just the kind of woman who watches a ton of tutorial videos on YouTube and recruits her (then) husband into the retread game.

Yeah, that's definitely the kind of woman I am. 😂

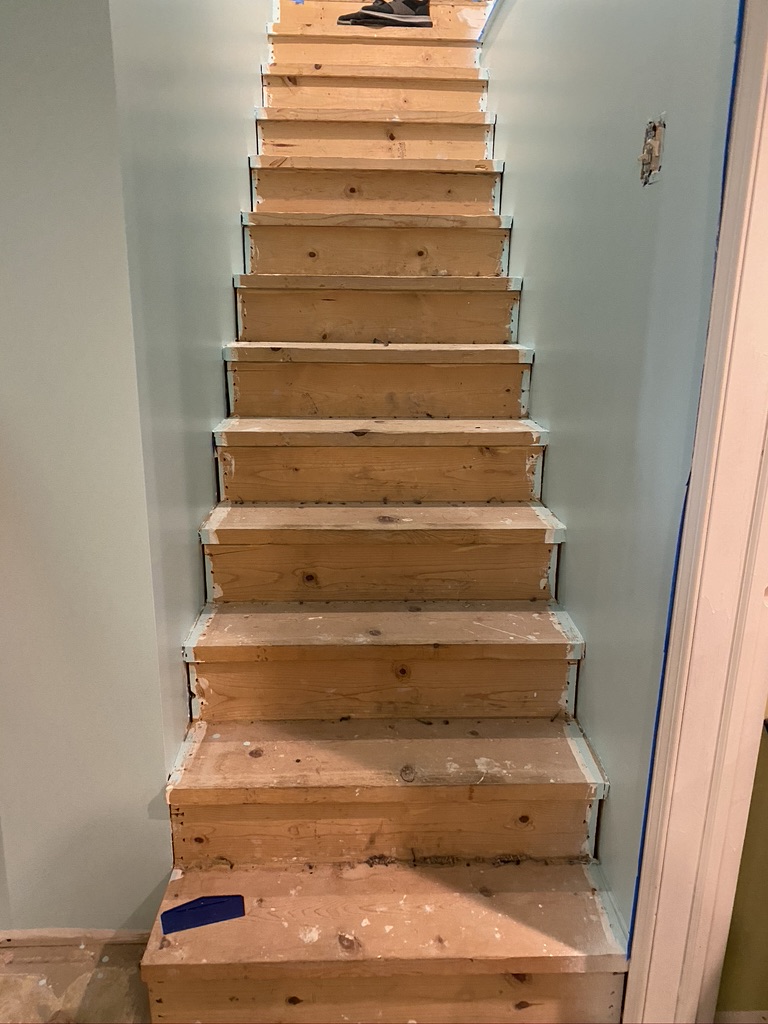
Here's a peek at the stairs before their rainbow retread renovation: 
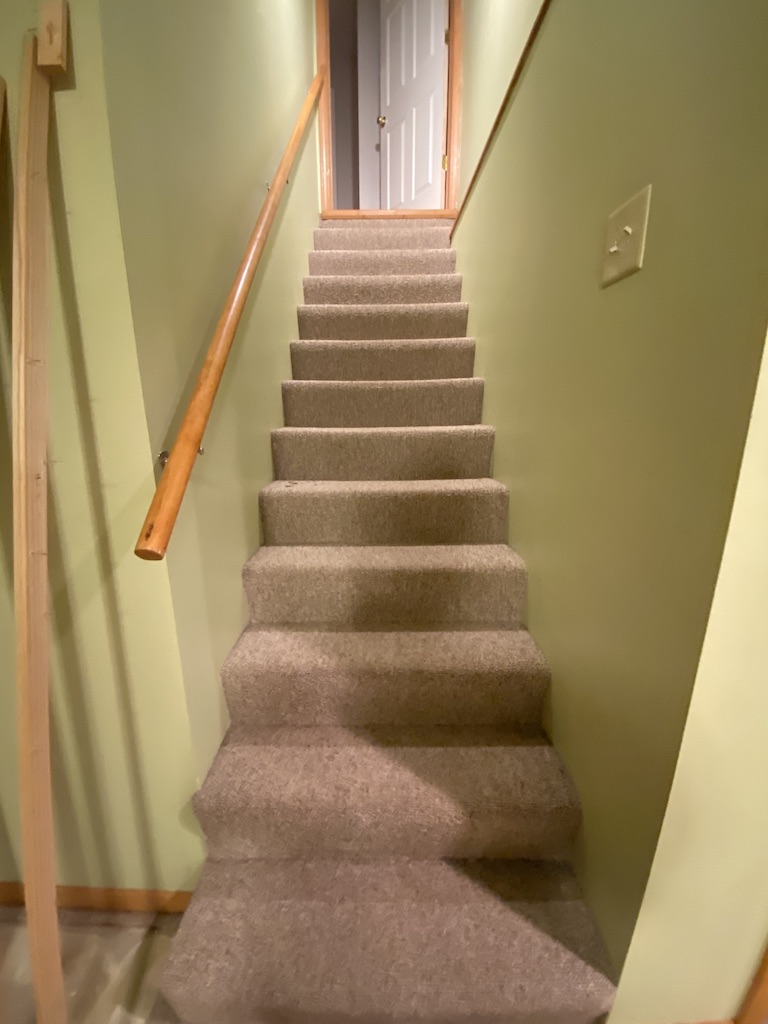
Your typical basement stairs game: budget carpeting. 😭
Rip out the carpeting and slap a coat of paint on the walls and we're ready to retread and then rainbow!

I didn't realize when I started this project that I couldn't just paint the stairs and call it a day. But the tread size without carpeting is actually too small to be safe, so it was either putting in a brand new staircase — to which my budget said "Hell no!" — or adding new stair treads.

(For the uninitiated, "treads" are the tops of the stairs. And the part in front is called a "riser." Who knew?! Def not me.)

Supplies:

I've included some links to what I used on this project. These are not affiliate links. Just the products I chose.

  • Power saw
  • Sandpaper
  • Rubberhead wood mallet
  • Wood glue
  • Unfinished stair treads
  • Plywood boards
  • Nails
  • Wood screws
  • Mini foam paint roller
  • 2-inch angle trim paint brush
  • Basic primer
  • All-surface enamel latex
  • Polyurethane*
  • Color match paint (I found colors from Sherwin Williams Color To-Go) that matched my color palette

Here's the step-by-step of the rainbow retread renovation:

  1. Rip out the carpeting on the stairs
  2. Cut off the "nosing" on the original stairs (i.e. the part that hangs over)
  3. Sand the original stairs to prep for retreads
  4. Cut down retreads to fit the stairs
  5. Cut down plywood to fit stair risers and dry fit everything
  6. Select the rainbow color palette and stair color order
  7. Prime and paint stair treads and riser plywood boards
  8. Seal the treads and plywood to protect against wear & tear
  9. Glue and nail the treads and risers
  10. Enjoy!

Step 1. Rip out carpeting on the stairs
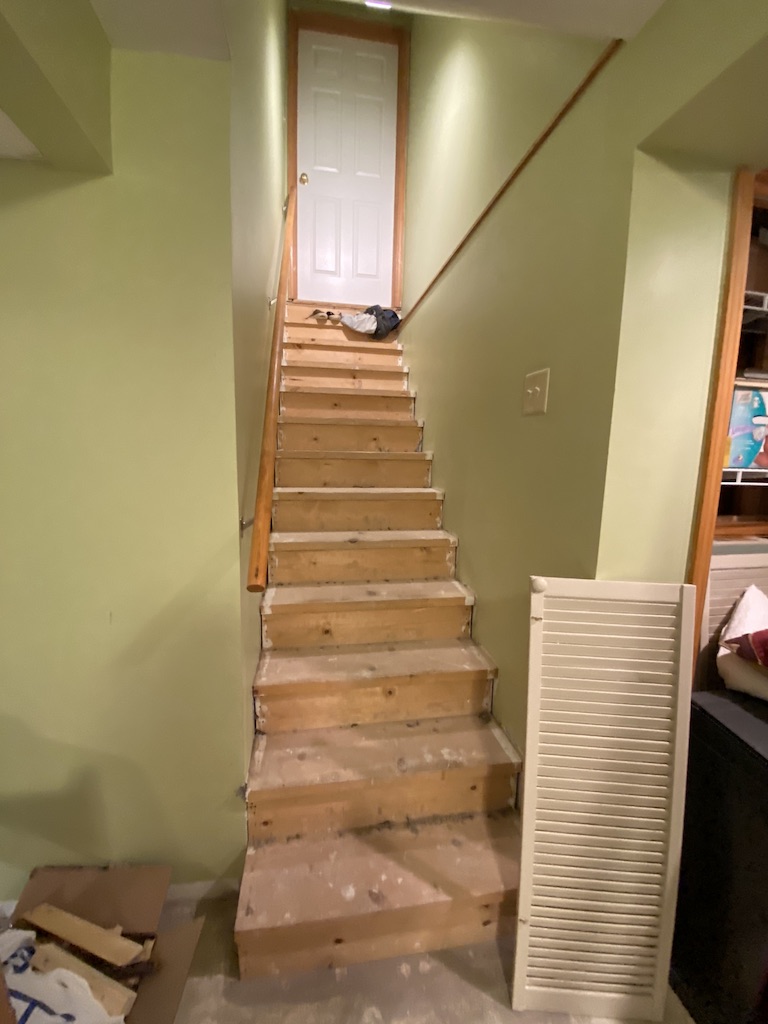
The hardest part was getting the carpet pads that were glued to the stairs off

Step 2. Cut off the "nosing" on the original stairs (i.e. the part that hangs over)

Because these stairs were built to be carpeted, there are gaps between the stairs and the wall. Hence, why i decided to add a plywood riser to the front to fill in the gaps.

Step 3. Sand the original stairs to prep for retreads
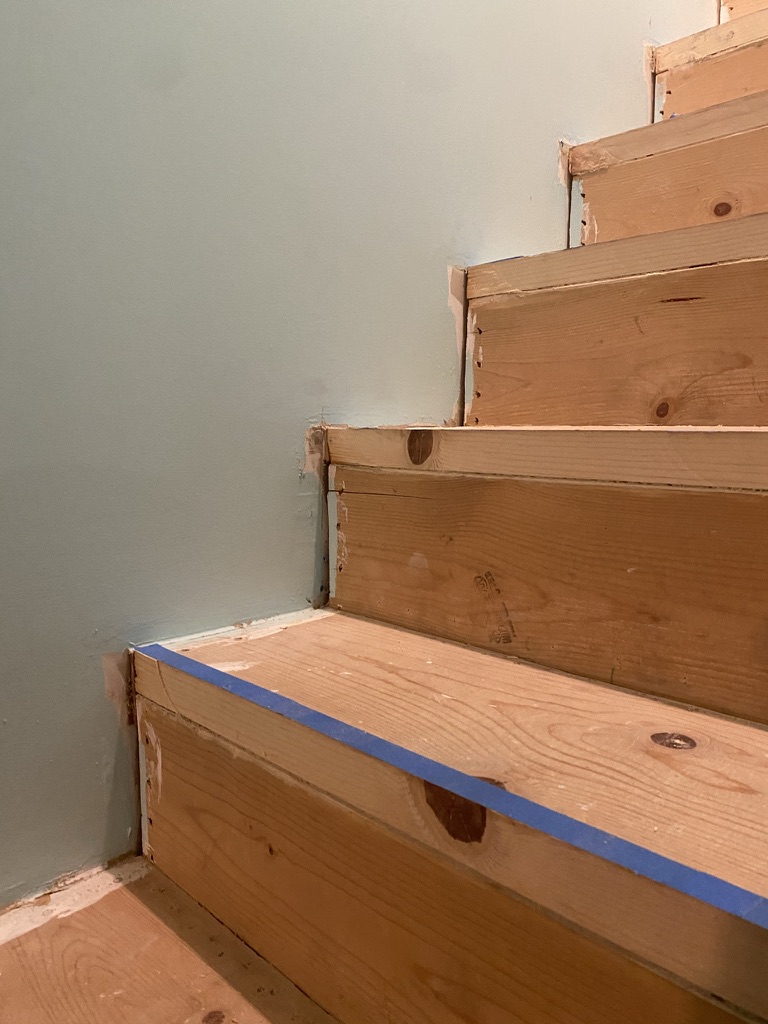
I didn't have to worry too much about the imperfections since we were covering the stairs with retreads and plywood risers.

Step 4. Cut down retreads to fit the stairs
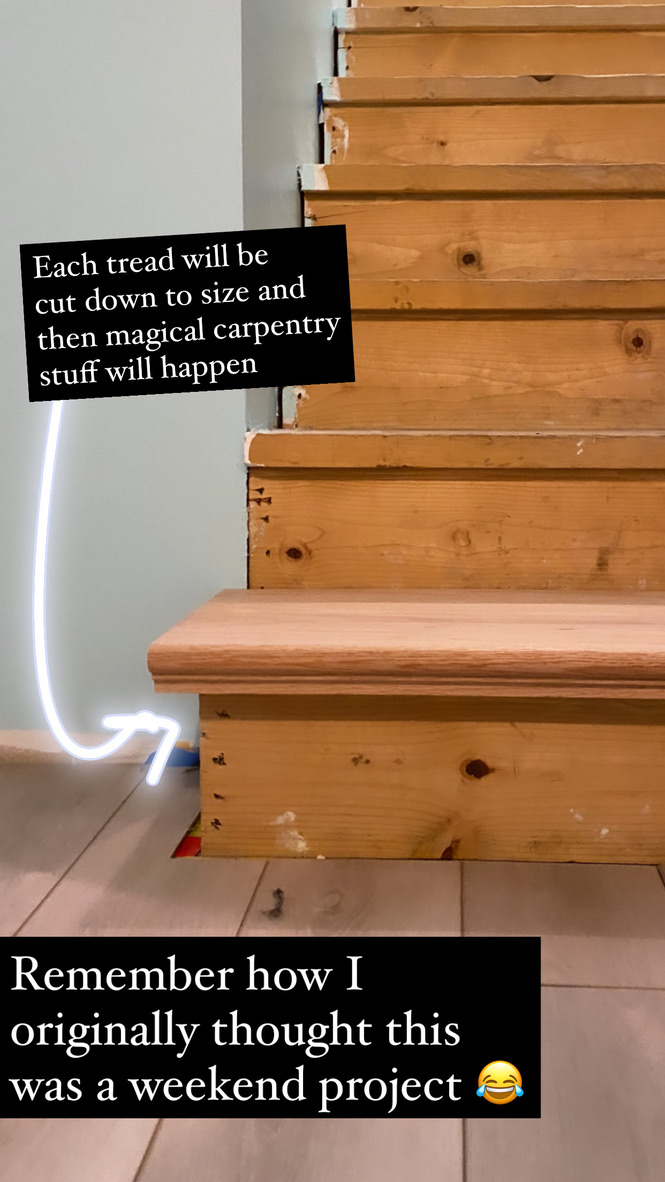
Per the photo, I originally thought we could redo this entire basement in a weekend. LOL.

Step 5. Cut down plywood to fit stair risers and dry fit everything to test sizing

IMG_0157

Step 6. Select the rainbow color palette and stair color order

Whipped up a rough Photoshop to test the color order. I tried four variations but this was the winner.

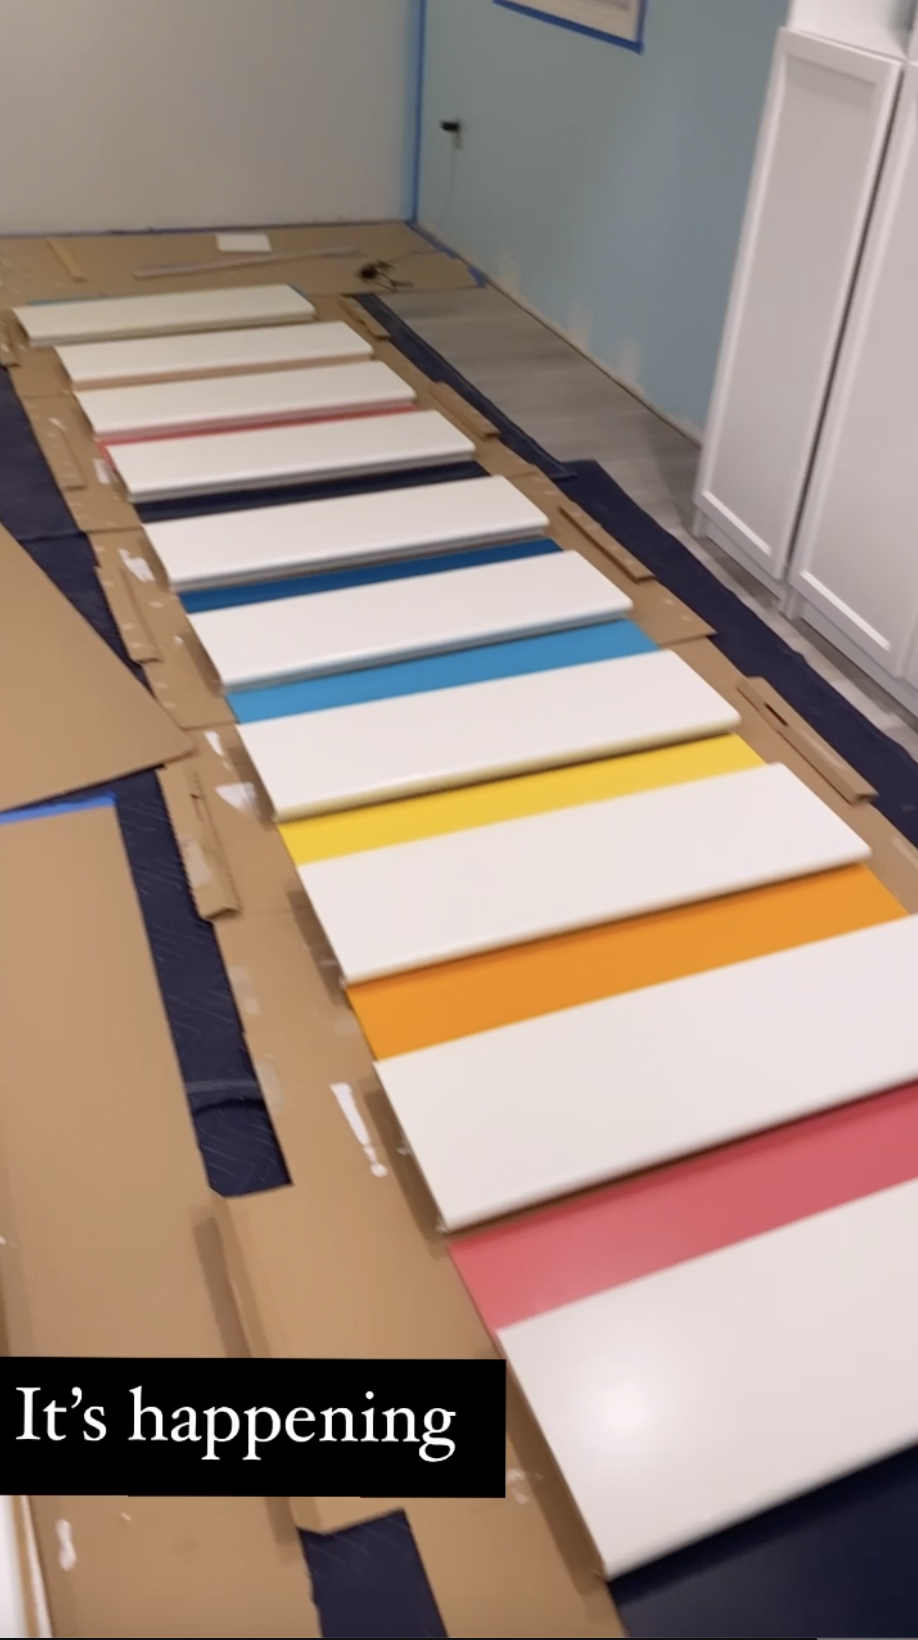
Step 7. Prime and paint stair treads and riser plywood boards
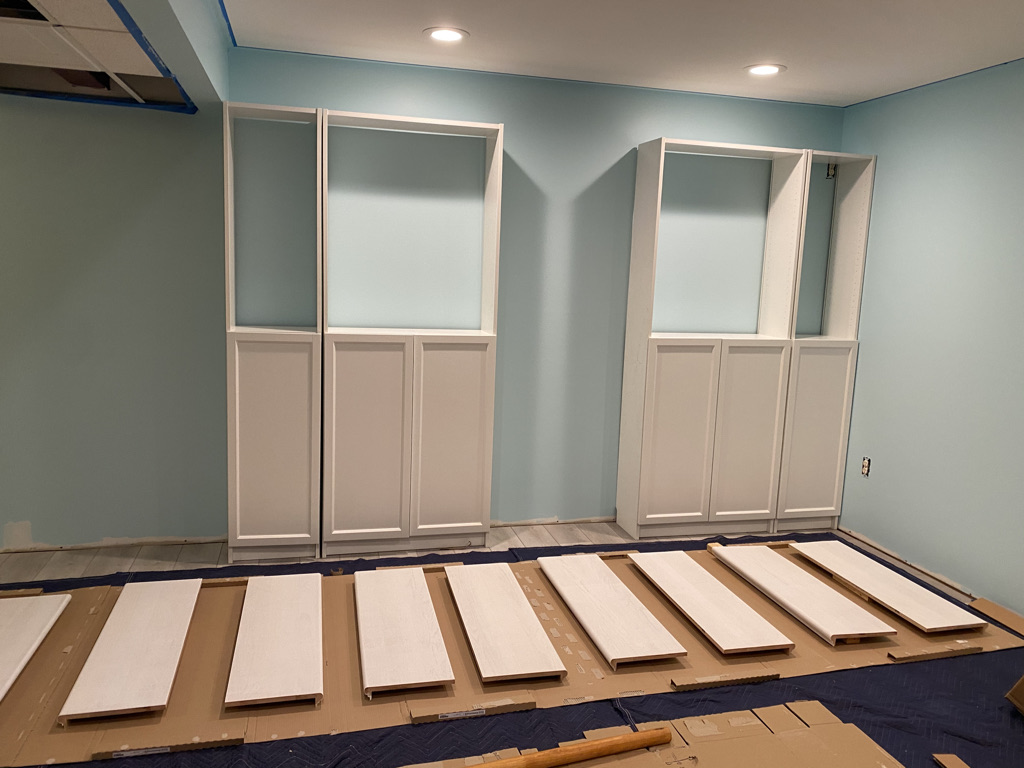
3E5717C0-4292-4583-B0CC-CCCC0F32AD45_1_105_c
As you can see, I got through by documenting every step of this painstaking process on <a href="https://www.instagram.com/homeofficepalace" target="_blank" rel="noopener">Instagram.</a>
As you can see, I got through by documenting every step of this painstaking process on Instagram.

Step 8. Seal the treads and pine boards to protect against wear & tear
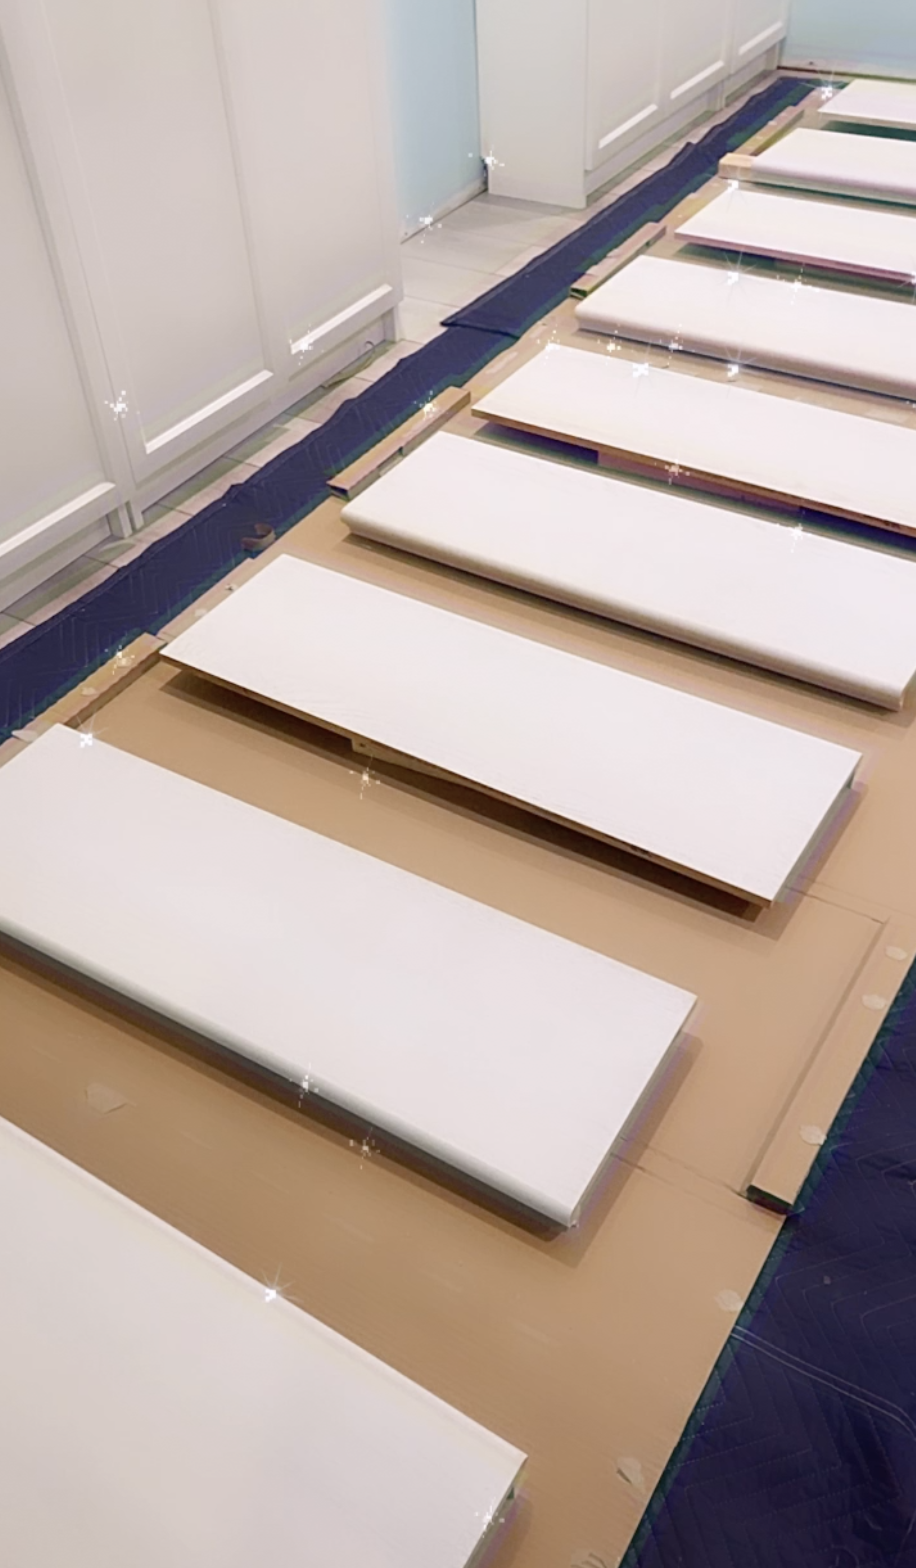
Put wood blocks under the treads to effectively paint and prime the sides.

Step 9. Glue and nail the treads and risers

Step 10. Enjoy!
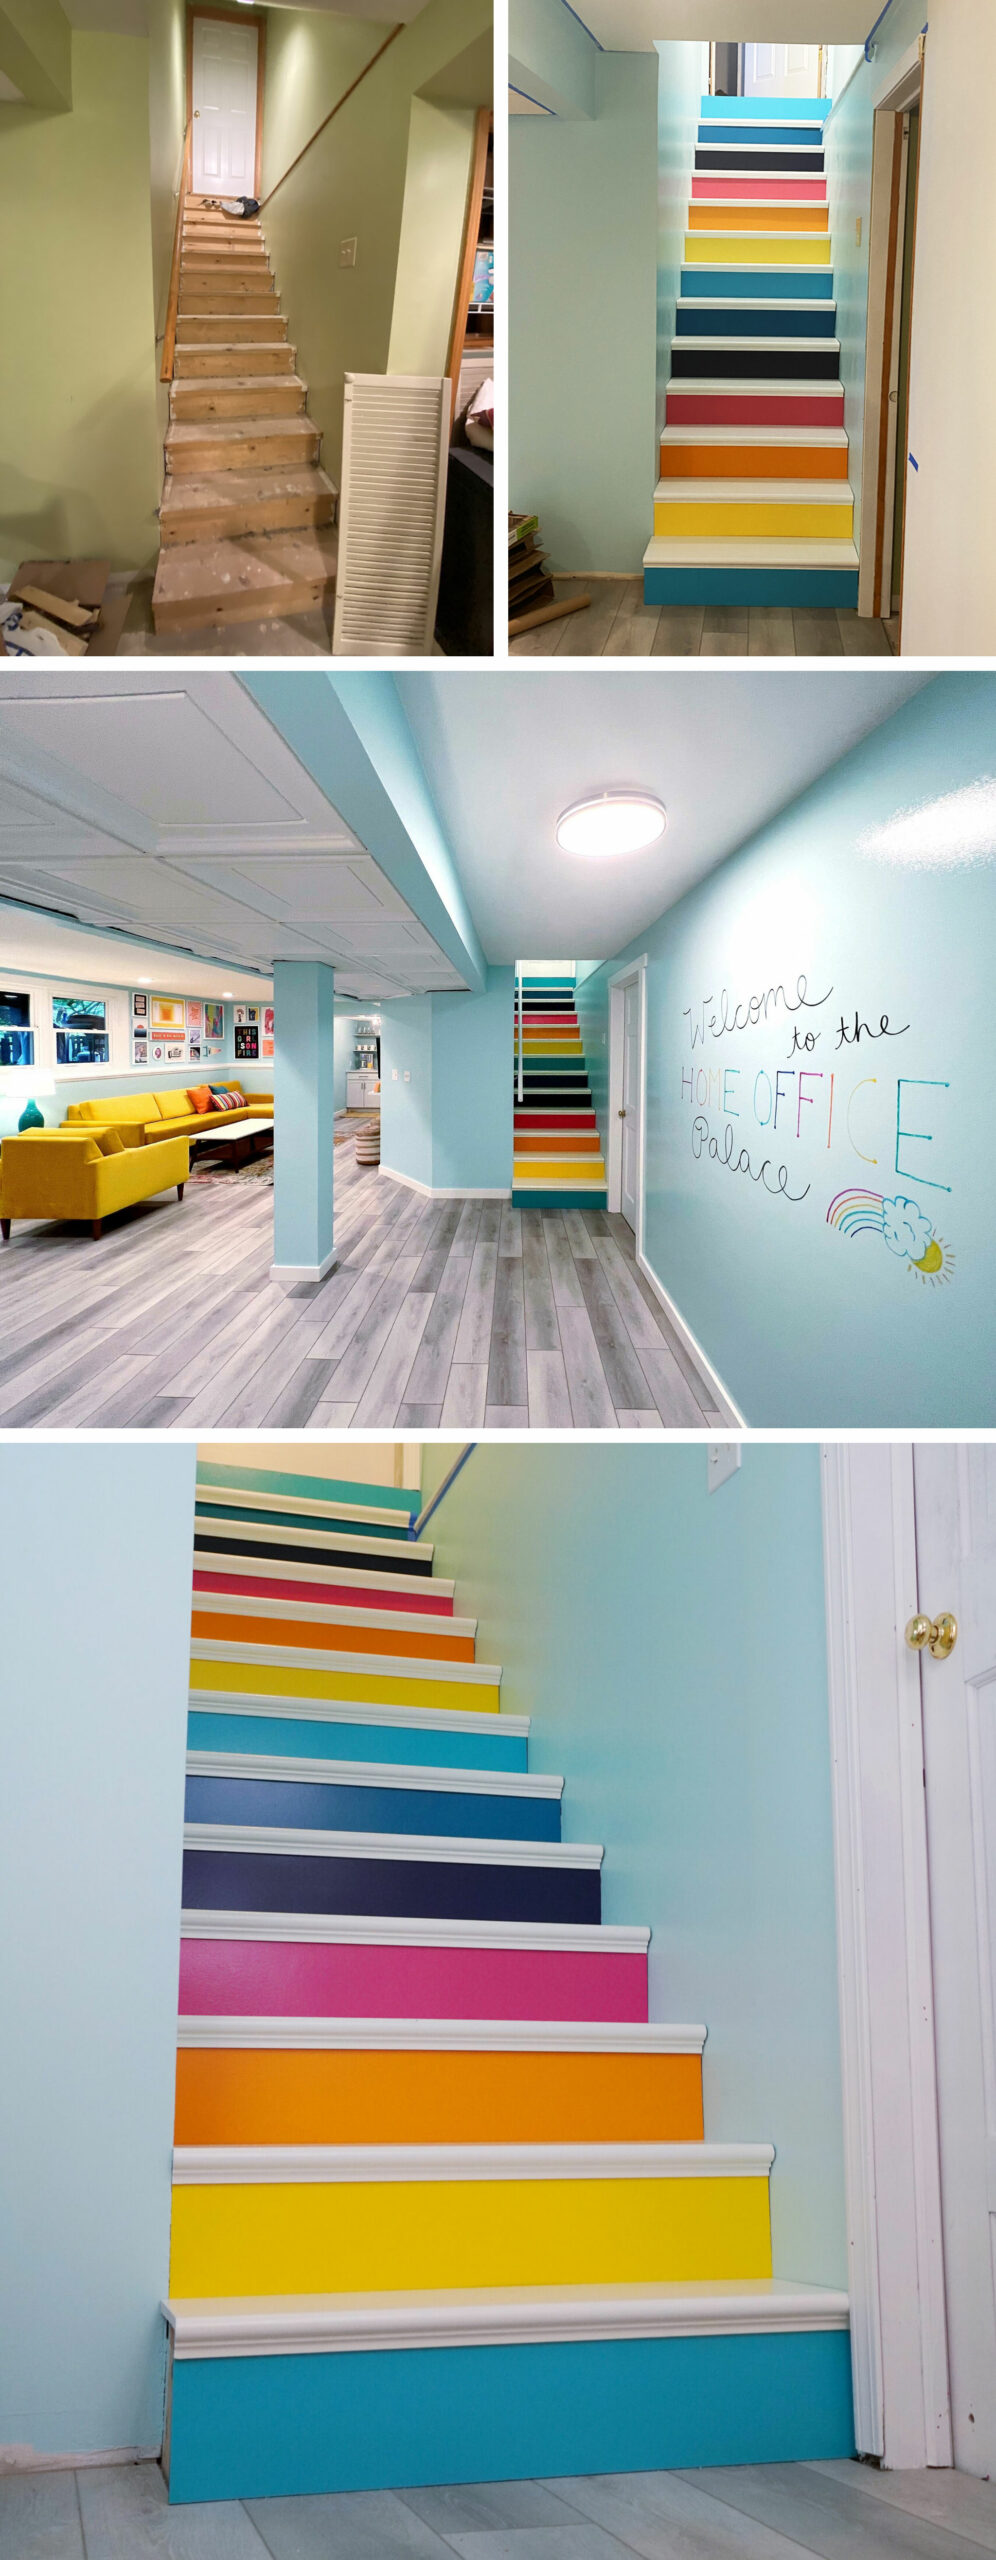
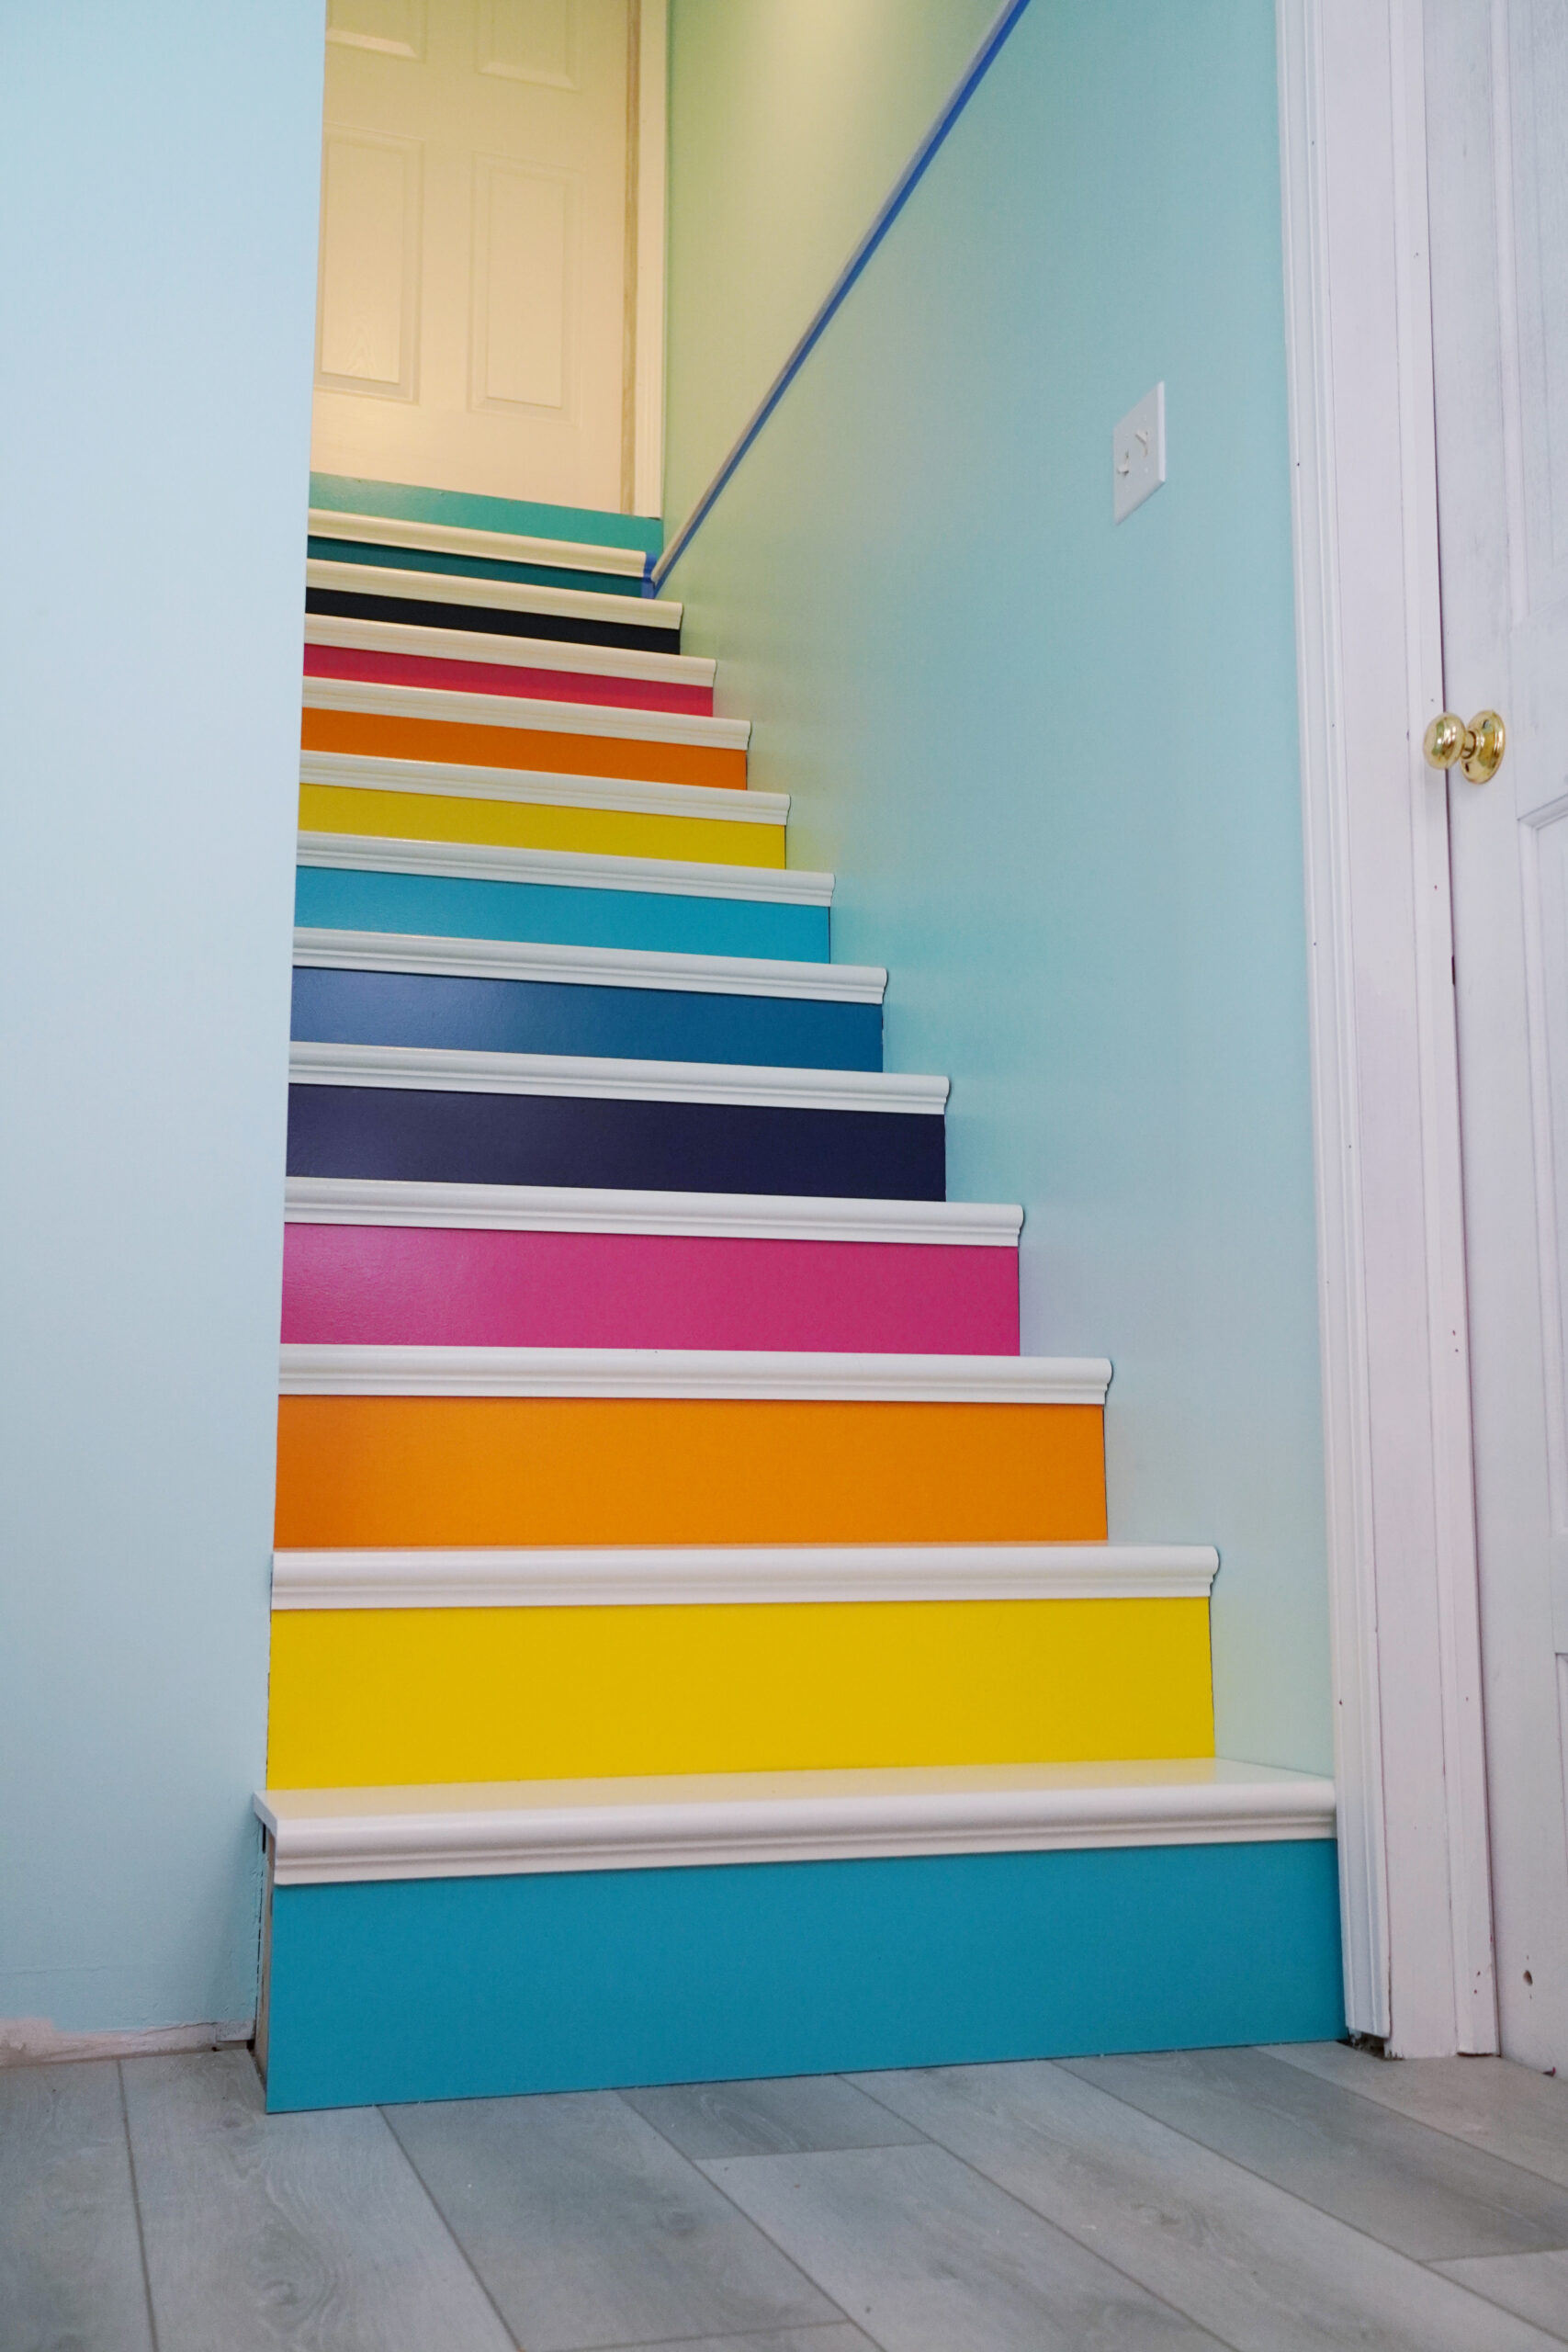
Rainbow stairs retread renovation before and after - Home Office Palace - basement stairs retread

p.s. The view from the top. Like descending on a cloud, then the rainbow appears!

IMG_0159

The rainbow stairs are the perfect backdrop for photoshoots!

ACS_0085
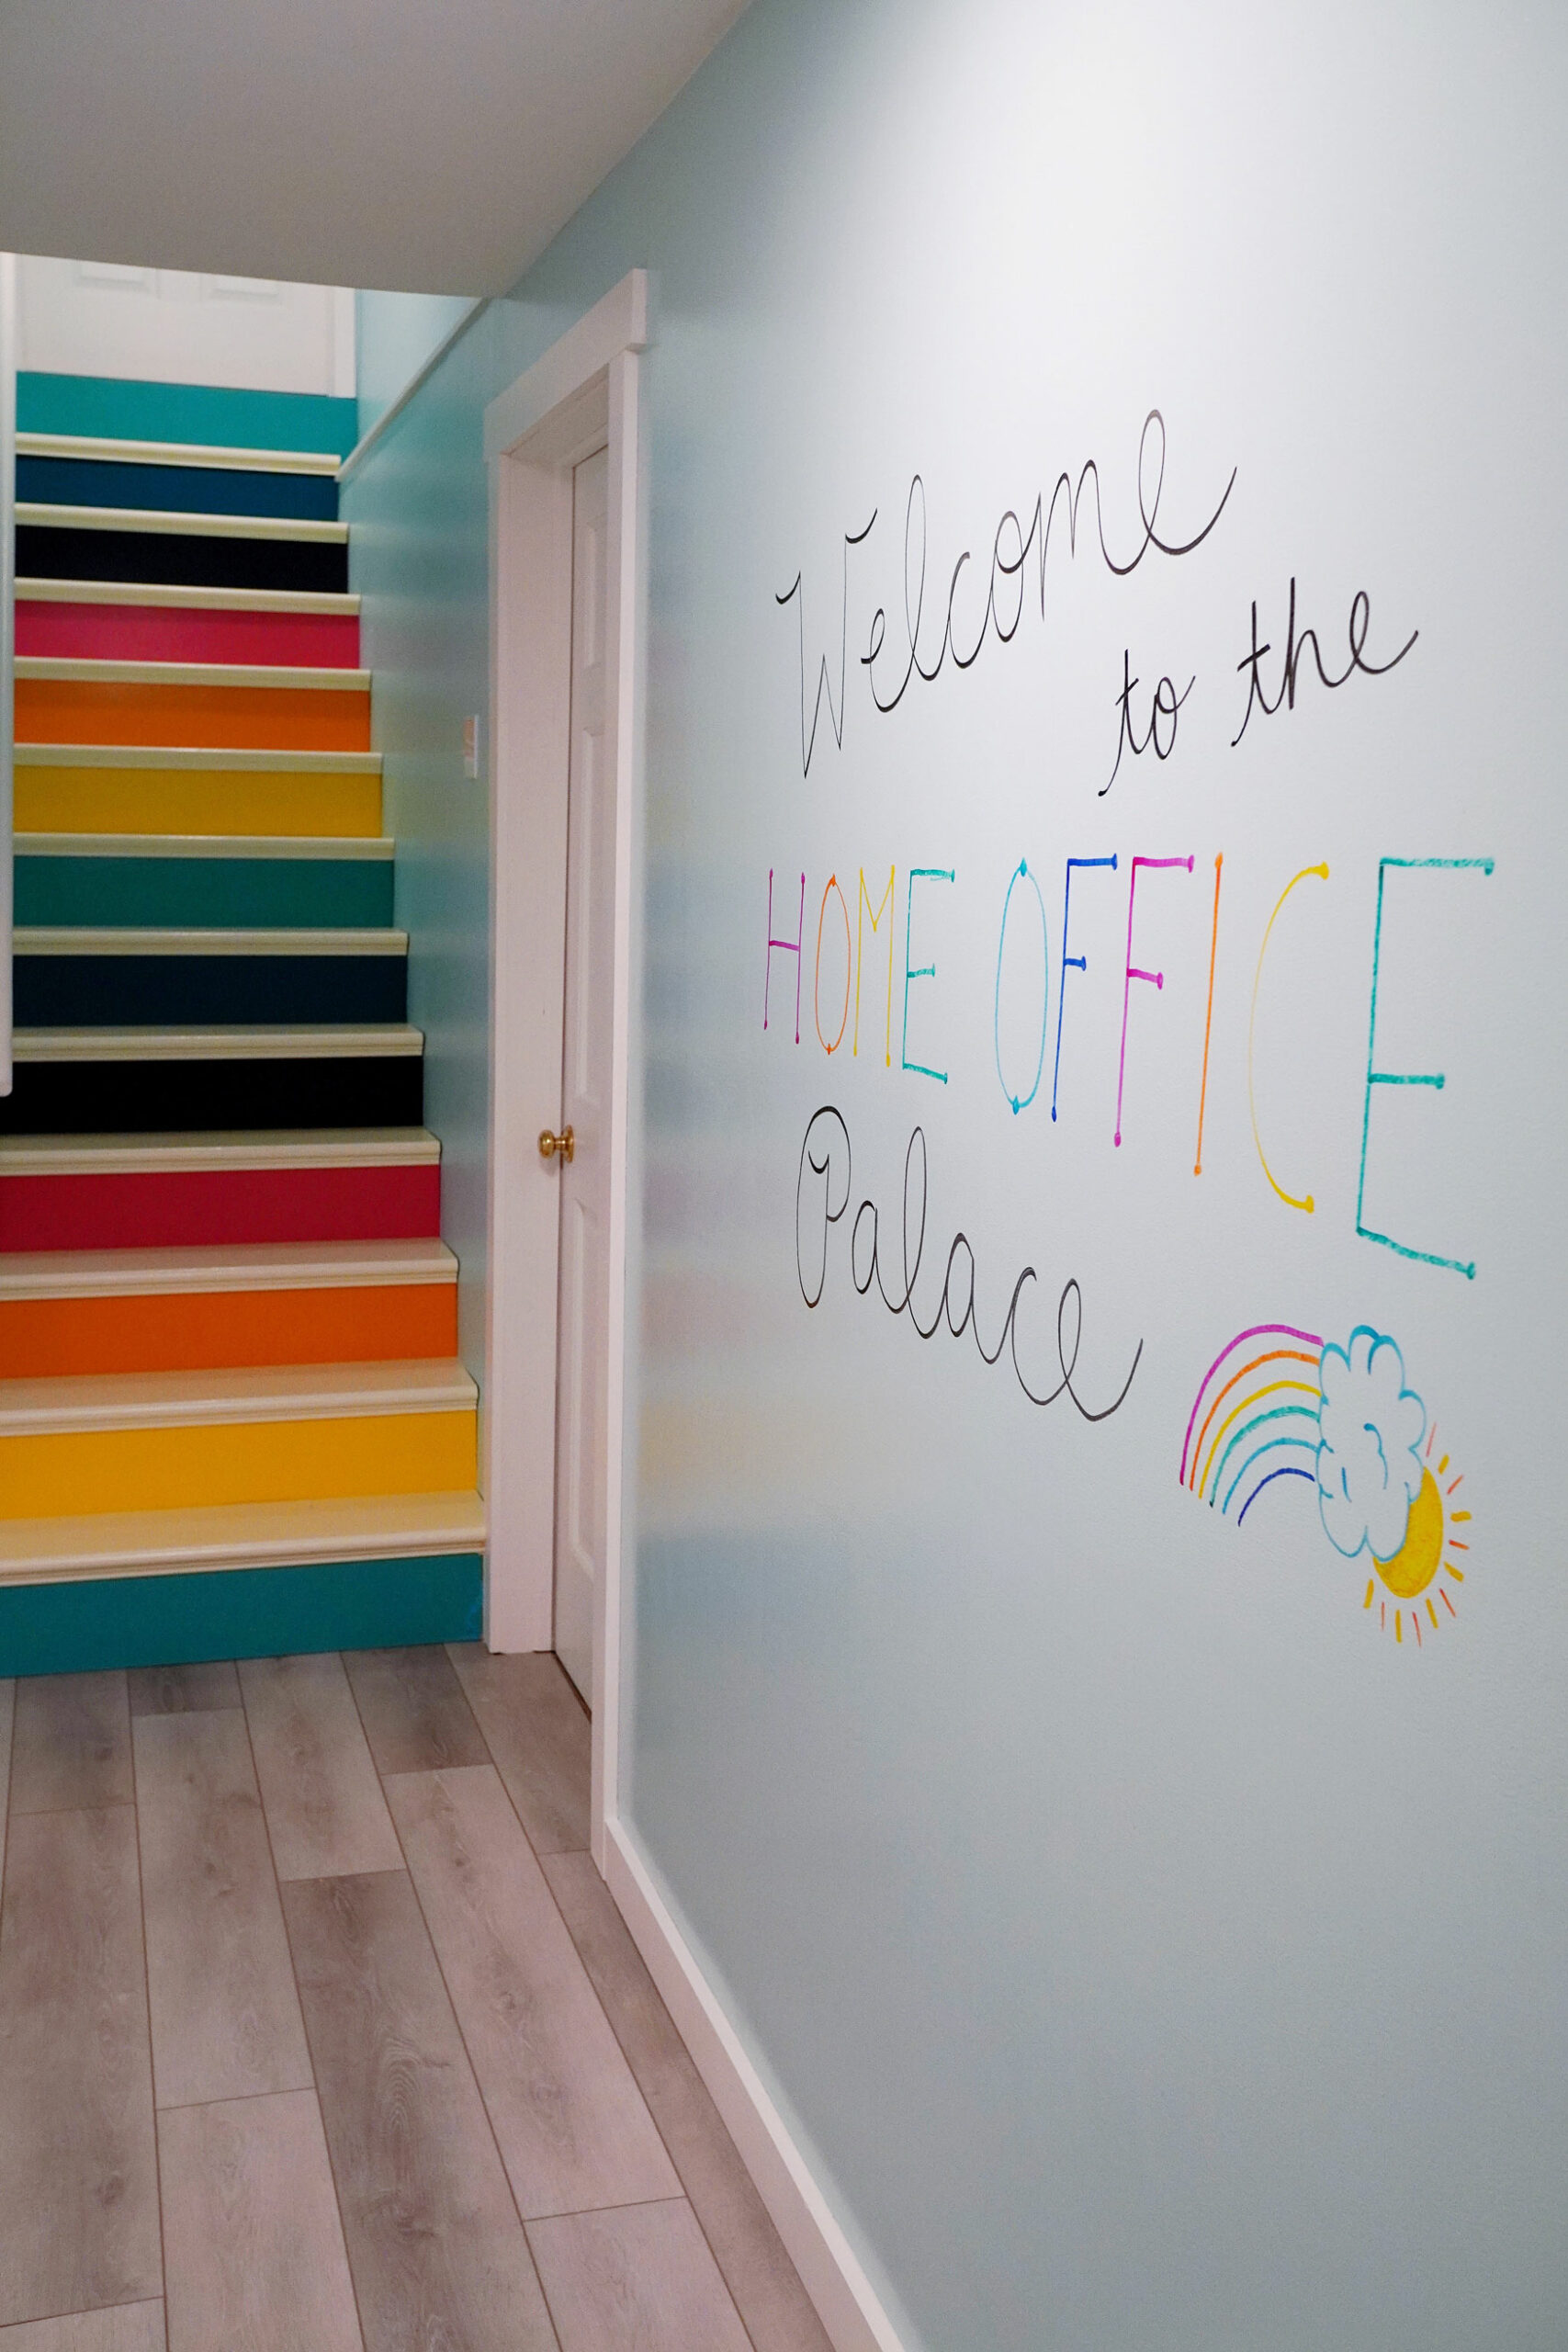
There didn't used to be a wall here! Behind the wall, I'll be creating my video studio and costume closet. What to do with a giant wall? Add magnet and dry erase <a href="https://ideapaint.com/" target="_blank" rel="noopener">Idea Paint</a> so I can create giant, living mood boards!
IMG_4353
Rainbow stairs before and after - basement renovation for the Home Office Palace by Rachael Kay Albers, RKA INK

And now to have some fun!

IMG_5536

sorry to get awkward on you but it's kinda my thing. I believe:

Every home office can be a palace.

No matter the square footage. No matter the business. No matter the work you're doing. You deserve to feel happy, calm, and inspired while you're doing it.

Join me on my mission to design the Ultimate Home Office. Let's do it together!